React JS: props and state
Passing Props to a Component
📘 Props
React components use props (props stands for properties) to communicate with each other.
Every parent component can pass some information to its child components by giving them props.
Props might remind you of HTML attributes, but you can pass any JavaScript value through them, including objects, arrays, and functions.
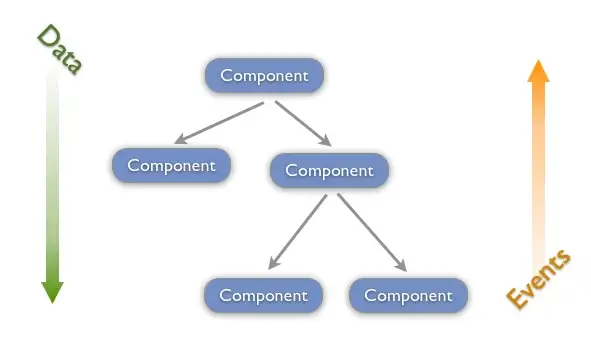
In React JS, data flows in one direction, from Parent to Child. This helps components to be simple and predictable.
“Simplicity is the ultimate sophistication.” -Leonardo da Vinci
1 Overview
In React.js, “props” (short for “properties”) are used to pass data from one component to another. Props are passed as an object (which is similar to a JSON object) and contain key-value pairs of data:
JSONis a lightweight data interchange format that is easy to read and write for both humans and machines.propsis a reserved keyword that refers to an object containing all the properties (or props) passed to a component.
For example, let’s say we have a component called MyComponent that receives an object named person as a prop. This person object might look like this:
In this case, the person object contains some key-value pairs and another object. We can then pass this person object as a prop to our MyComponent component like this:
Inside MyComponent, we can access the person prop using the props object like this:
1.1 Example1
const car = {
make: 'Toyota',
model: 'Corolla',
year: 2022,
color: 'blue'
};
const person = {
  name: 'John',
  age: 30,
  address: {
    street: '123 Main St',
    city: 'Anytown',
    state: 'CA',
    zip: '12345'
  }
};
<MyComponent person={person} car={car} />
function MyComponent(props) {
console.log(props.person.name); // 'John'
console.log(props.person.age); // 30
console.log(props.person.address.street); // '123 Main St'
console.log(props.car.make); // 'Toyota'
console.log(props.car.model); // 'Corolla'
console.log(props.car.year); // 2022
console.log(props.car.color); // 'blue'
// ...
}1.2 Example2
Use the same syntax as HTML attributes to send props into a component:
lin.jsx
2 Pure Components
2.1 Stateful/Stateless Components
Sateful Components: Functions that internally modify the underlying data (props).
profile.jsx
Stateless Components:
Pure componentsthat respond to the underlying data received (props), without modifying it.
A pure function is a function where the return value is only determined by its input values, without observable side effects.
2.2 Keep Components Pure
Writing pure functions takes a bit of practice, but it unlocks the power of React’s paradigm
By strictly only writing your components as pure functions, you can avoid an entire class of baffling bugs and unpredictable behavior as your codebase grows. To get these benefits, though, there are a few rules you must follow.
- Rendering can happen at any time, so components should not depend on each others’ rendering sequence.
- You should not mutate any of the inputs that your components use for rendering. That includes props, state, and context. To update the screen, “set” state instead of mutating preexisting objects.
- Strive to express your component’s logic in the JSX you return. When you need to “change things”, you’ll usually want to do it in an event handler. As a last resort, you can useEffect.
React’s rendering process must always be pure. Components should only return their JSX, and not change any objects or variables that existed before rendering—that would make them impure!
Here is a component that breaks this rule:
Hello.jsx

Detecting impure calculations with StrictMode
- Same inputs, same output.
- It minds its own business.
Otherwise, you can encounter confusing bugs and unpredictable behavior as your codebase grows in complexity.
When developing in Strict Mode, React calls each component’s function twice, which can help surface mistakes caused by impure functions.
3 What is state and rendering: update/render cycle
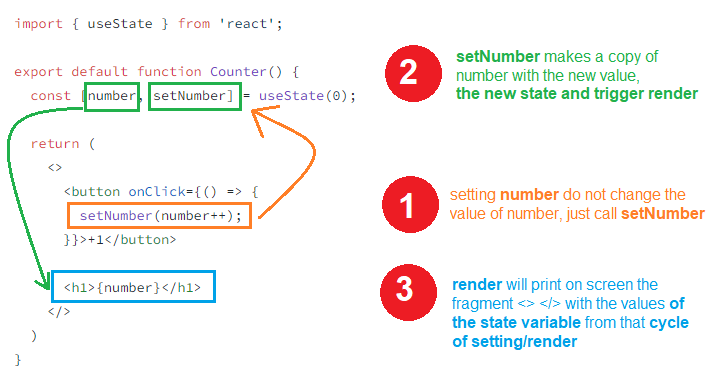
State variables might look like regular JavaScript variables that you can read and write to.
However, state behaves more like a snapshot.
Setting it does not change the state variable you already have, but instead triggers a re-render that will print a state variable copy with the new value.
State can hold any kind of JavaScript value, including objects.
But you shouldn’t change objects that you hold in the React state directly.
Instead, when you want to update an object, you need to create a new one (or make a copy of an existing one), and then set the state to use that copy.
How it works in combination with spread opearator
And what is a hook: useState
Treat state as read-only: in other words, you should treat any JavaScript object that you put into state as read-only.
App.js
3.1 update/render behaviour
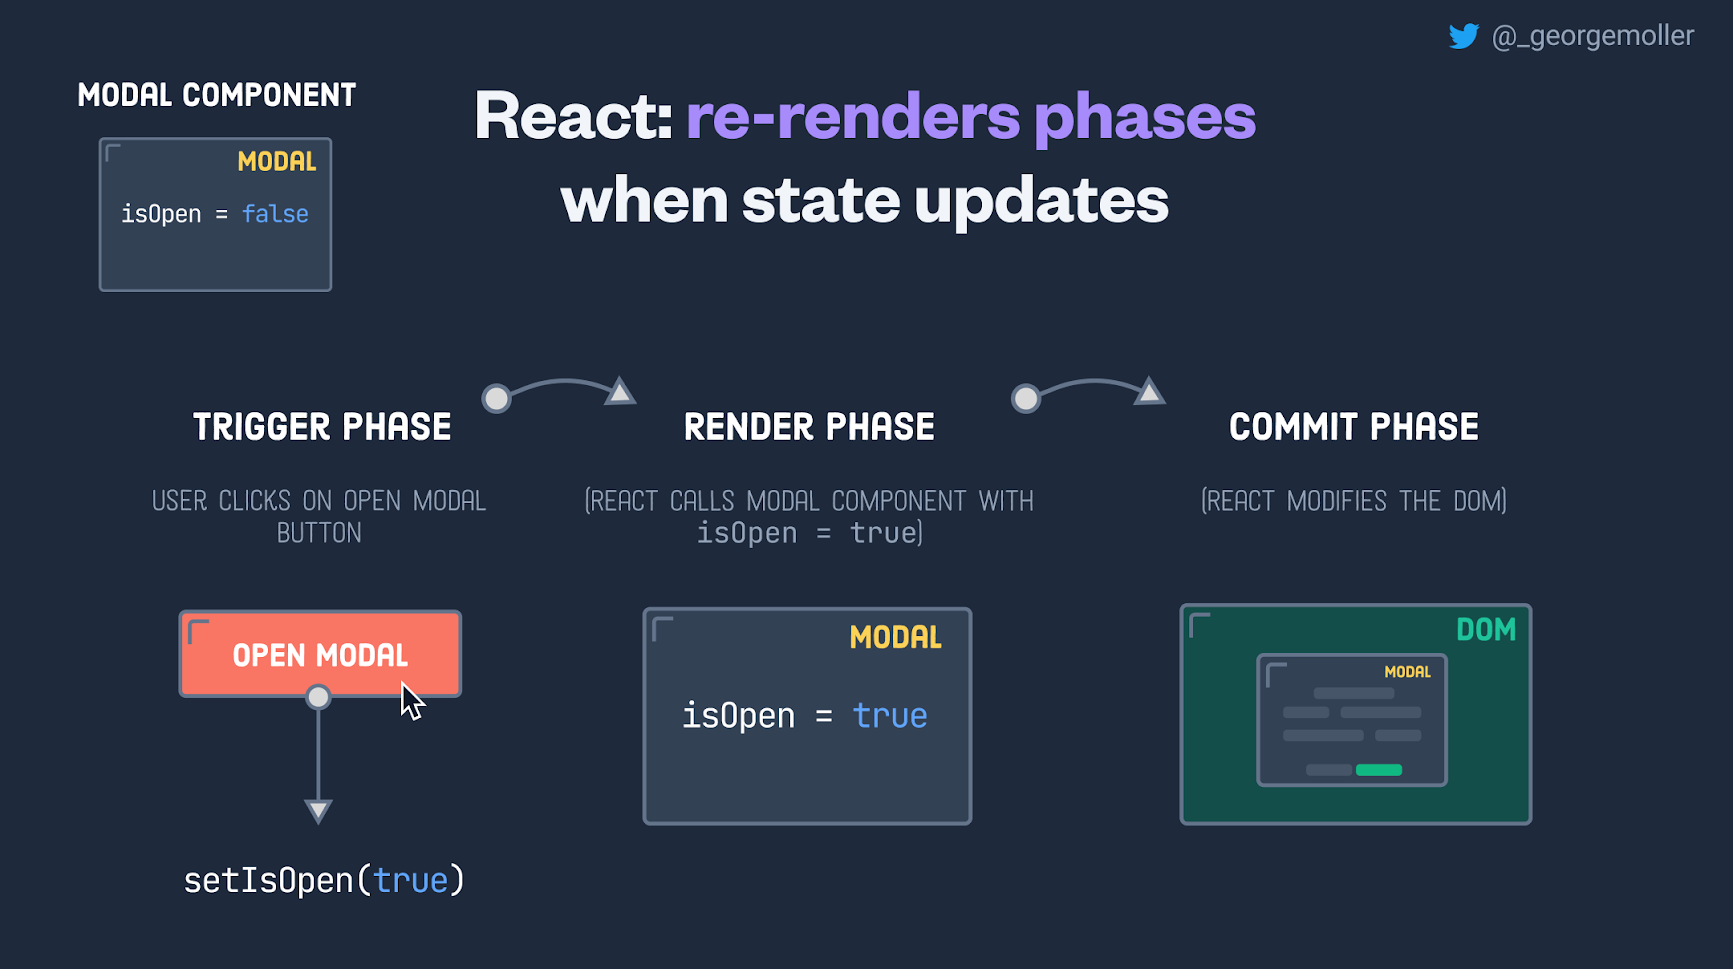
Any screen update in a React app happens in three steps:
- Trigger
- Render
- Paint-Commit
You can use Strict Mode to find mistakes in your components React does not touch the DOM if the rendering result is the same as last time
After rendering (calling) your components, React will modify the DOM.
React only changes the DOM nodes if there’s a difference between renders.
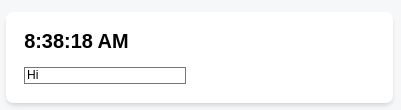
For example, here is a component that re-renders with different props passed from its parent every second. Notice how you can add some text into the <input>, updating its value, but the text doesn’t disappear when the component re-renders:
4 So, Is React immutable?
The term immutable refers to the idea that the state of a component should not be changed directly. Instead, when the state of a component needs to be updated, a new copy of the state should be created with the desired changes applied.
This approach to state management can help to ensure that the state of a React application is predictable and easy to understand, as it makes it clear how the state is changing over time.
It can also make it easier to debug issues in your application, as you can more easily trace the history of the state and see how it has changed.
4.1 And then, what is a mutation?
You can store any kind of JavaScript value in state.
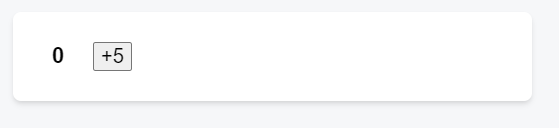
So far you’ve been working with numbers, strings, and booleans. These kinds of JavaScript values are immutable, meaning unchangeable or read-only. You can trigger a re-render to replace a value:
The x state changed from 0 to 5, but the number 0 itself did not change. It’s not possible to make any changes to the built-in primitive values like numbers, strings, and booleans in JavaScript.
Now consider an object in state:
Technically, it is possible to change the contents of the object itself. This is called a mutation:
However, although objects in React state are technically mutable, you should treat them as if they were immutable—like numbers, booleans, and strings. Instead of mutating them, you should always replace them.
5 Examples
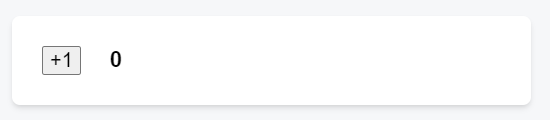
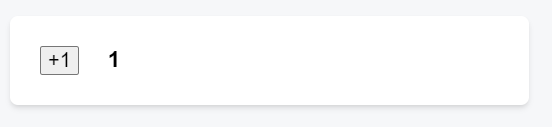
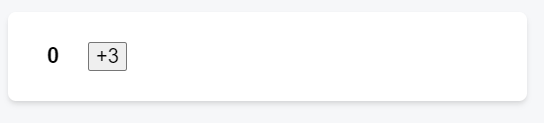
5.1 Example 1: setting state only changes it for the next render
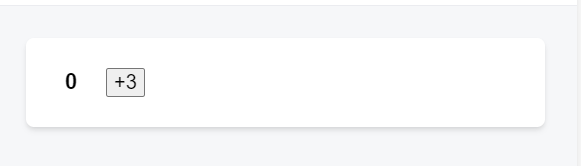
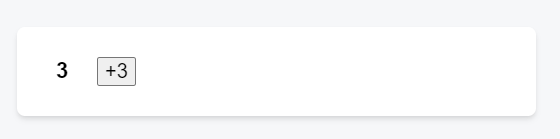
In this example, you might expect that clicking the +3 button would increment the counter three times because it calls setNumber(number + 1) three times.
App.js
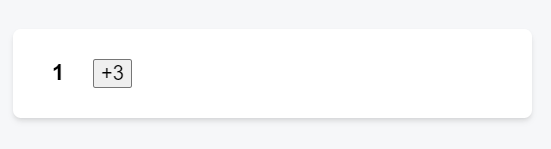
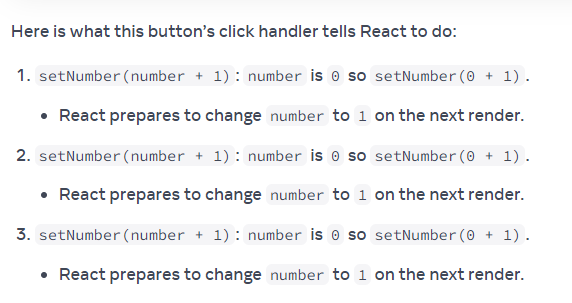
Setting state only changes it for the next render. During the first render, number was 0.
And this is like this because number is … a state.
So, during execution lines #10, #11 and #12, number value is …0!
This is why, in that render’s onClick handler, the value of number is still 0 even after setNumber(number + 1) was called .. three times!!!
5.2 Example 2: State over time
State over time, step by step how setting and render do not happen at same moment.
App.js
number state is 0
number state to 5, but first React will execute line #11, alert, and number state still is 0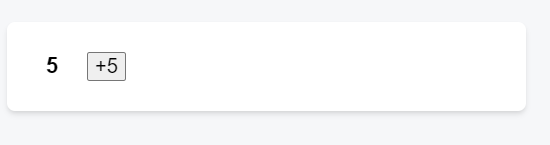
number state now is now 5Alert is helping us to understand why setting and render are two different moments
Setting number state to 5, but first React will execute line #11, alert, and number state still is 0
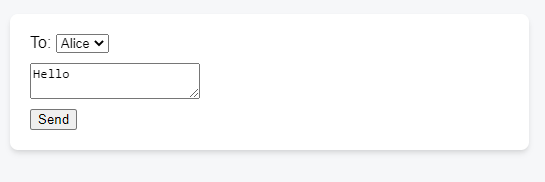
5.3 Example 3: email
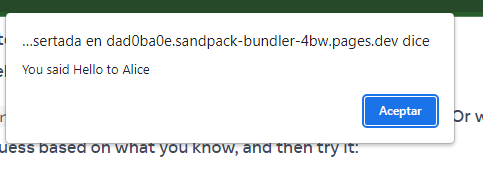
Here is an example of how that makes your event handlers less prone to timing mistakes. Below is a form that sends a message with a five-second delay. Imagine this scenario:
- You press the
Sendbutton, sending Hello to Alice. - Before the five-second delay ends, you change the value of the
Tofield to Bob.
App.js
import { useState } from 'react';

export default function Form() {
  const [to, setTo] = useState('Alice');
  const [message, setMessage] = useState('Hello');

  function handleSubmit(e) {
    e.preventDefault();
    setTimeout(() => {
      alert(`You said ${message} to ${to}`);
    }, 5000);
  }

  return (
    <form onSubmit={handleSubmit}>
      <label>
        To:{' '}
        <select
          value={to}
          onChange={e => setTo(e.target.value)}>
          <option value="Alice">Alice</option>
          <option value="Bob">Bob</option>
        </select>
      </label>
      <textarea
        placeholder="Message"
        value={message}
        onChange={e => setMessage(e.target.value)}
      />
      <button type="submit">Send</button>
    </form>
  );
}
React keeps the state values fixed within one render’s event handlers.
You don’t need to worry whether the state has changed while the code is running.
5.4 Example 4: state updater function
It is an uncommon use case, but if you would like to update the same state variable multiple times before the next render, instead of passing the next state value like setNumber(number + 1), you can pass a function that calculates the next state based on the previous one in the queue, like setNumber(n => n + 1).
It is a way to tell React to do something with the state value instead of just replacing it.
App.js