React JS: useContext
ReactJS hooks
📘 useContext
useContext is a React Hook that lets you read and subscribe to context from your component.
const value = useContext(SomeContext)
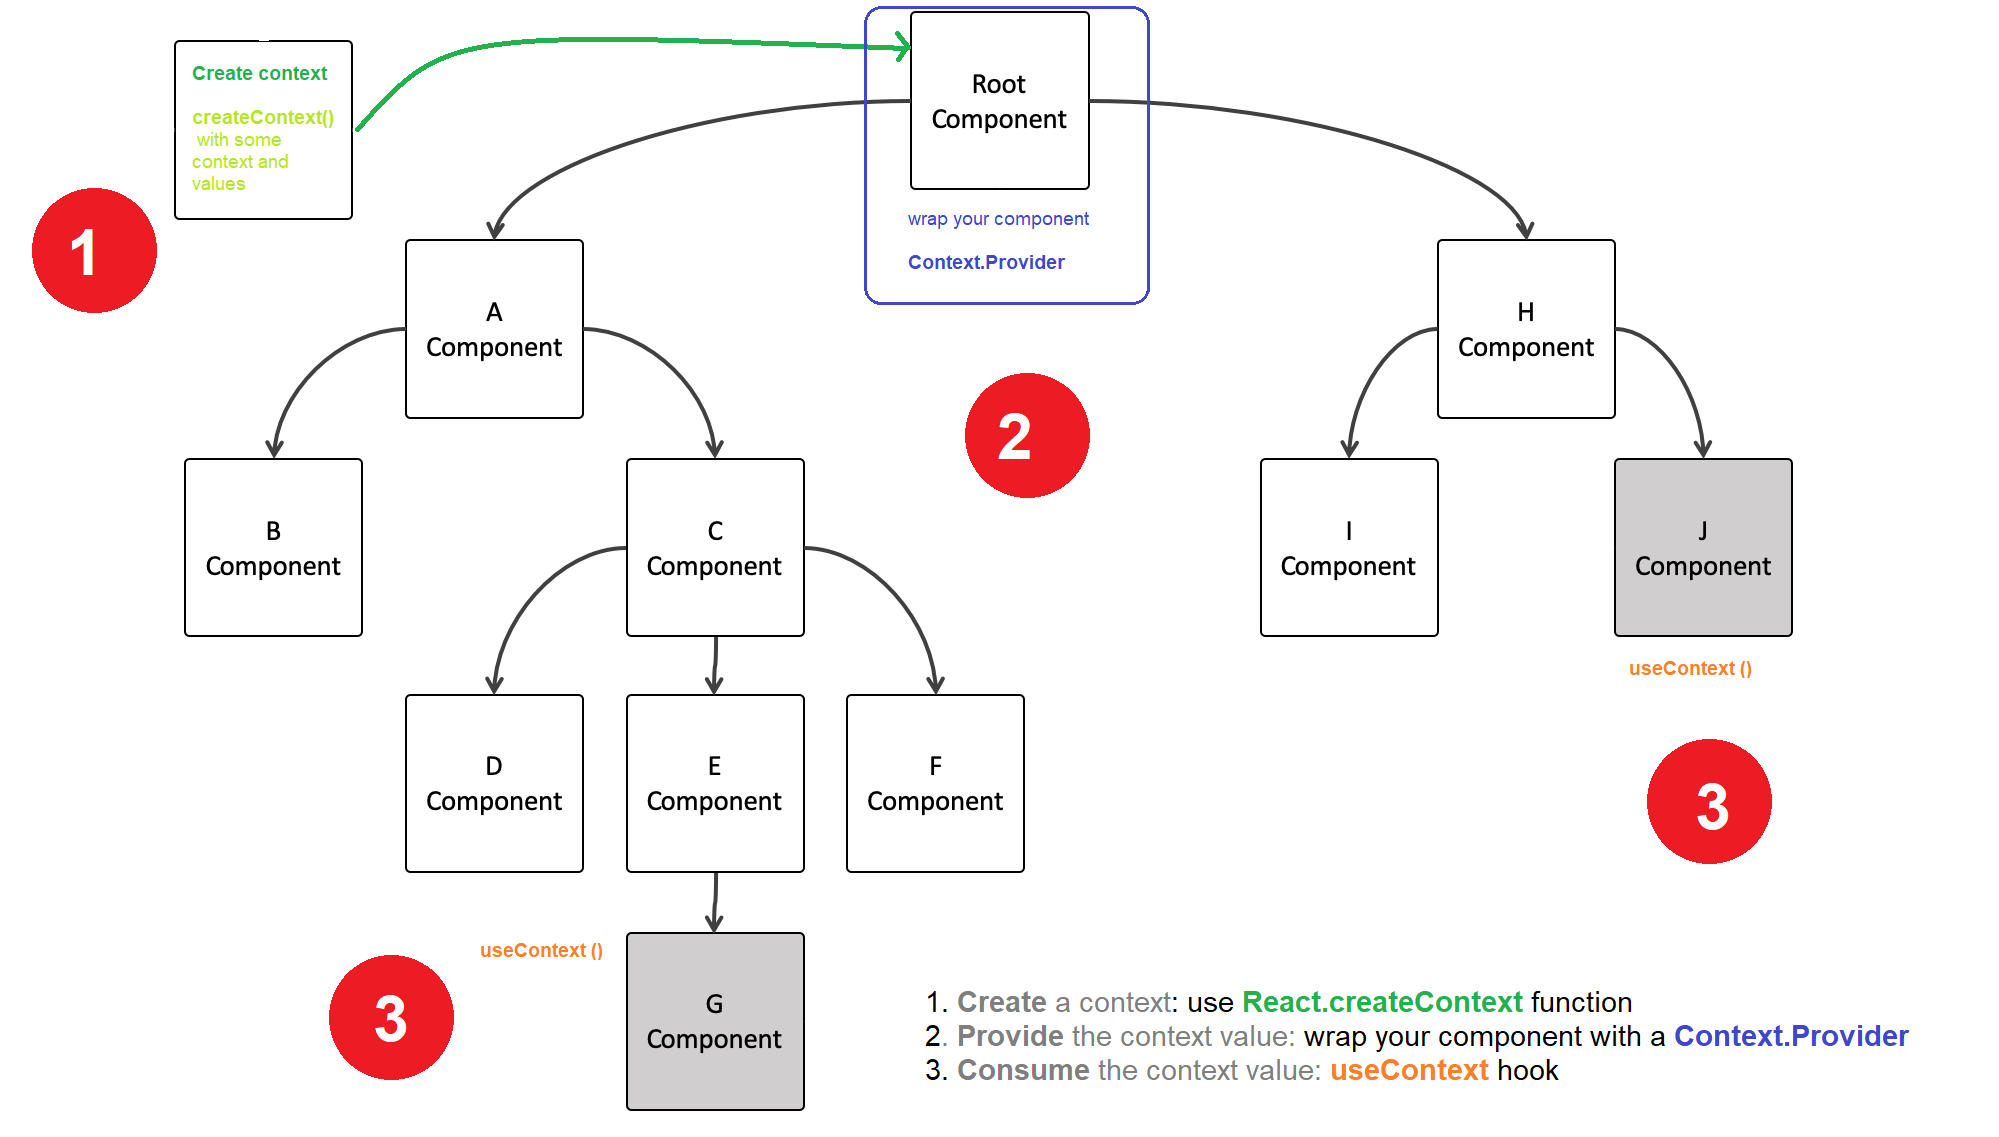
useContext allows you to consume context values from a nearest ancestor Context.Provider. Here’s a brief overview of the three steps to use useContext:
- Create a context: To use
useContext, you first need to create a context using theReact.createContextfunction. This function takes in a default value for the context, which will be used if aContext.Provideris not present in the component tree. - Provide the context value: To make the context value available to your components, you need to wrap your component tree with a
Context.Providercomponent, and pass the context value as a prop. - Consume the context value: To consume the context value in a component, you can use the
useContexthook and pass in the context object as an argument. The hook will return the current context value, which you can then use in your component.
1 Basic example
In this example, the MyContext context is created using the React.createContext function, with a default value of default value. The MyComponent component consumes the context value using the useContext hook, and displays the value in the DOM.
App.js
Using useContext in this way allows you to easily share values between components, without the need to pass props down through multiple levels of the component tree.
The App component wraps the MyComponent component with aMyContext.Provider component, and passes the value ‘Hello, world!’ as a prop.
This makes the context value available to the MyComponent component, which will use the value passed by the provider rather than the default value.
2 useContext(SomeContext)
App.js
Call useContext at the top level of your component to read and subscribe to context.
2.1 Parameters
someContext: The context that you’ve previously created withcreateContext. The context itself does not hold the information, it only represents the kind of information you can provide or read from components.
2.2 Returns
useContextreturns the context value for the calling component. It is determined as the value passed to the closestSomeContext.Providerabove the calling component in the tree.
If there is no such
provider, then the returned value will be the defaultValue you have passed tocreateContextfor thatcontext. The returned value is always up-to-date. React automatically re-renders components that read somecontextif it changes.
3 Usage: passing data deeply into the tree
3.1 The Problem
The big issue that comes up is figuring out how components should communicate with each other.
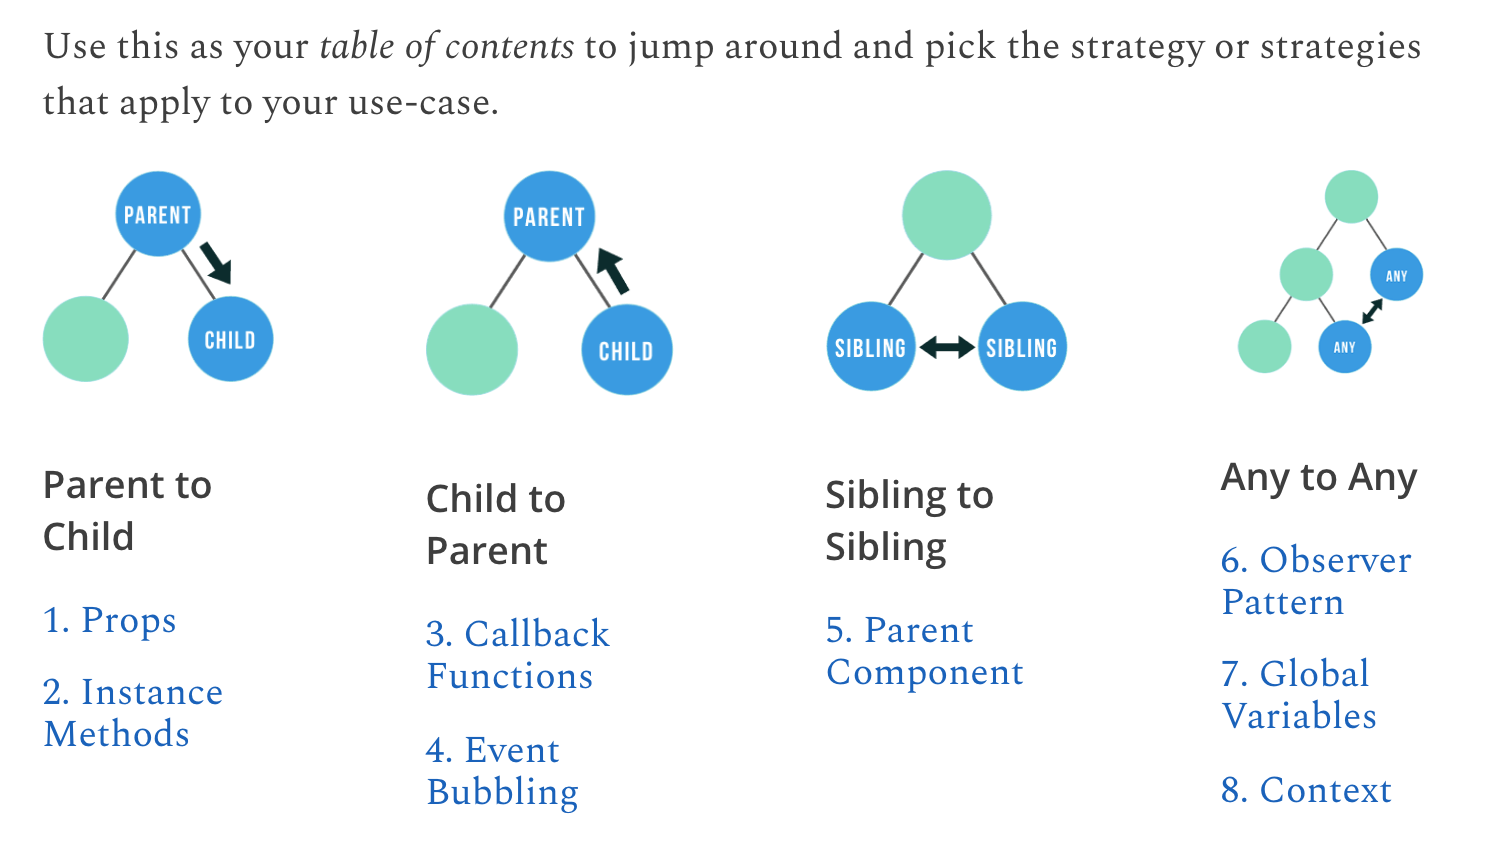
3.2 The Solution: context
Context works similarly to props, but instead of providing data to a single child, it can be used to provide data to an entire subtree.
Contextcan only send data down the tree (parent to subtree). It can be paired withcallbackfunctions to pass data back up.
useContext React documentation and React useContext Hook w3 schools
4 Example#1
createContext, useContext, useState working together
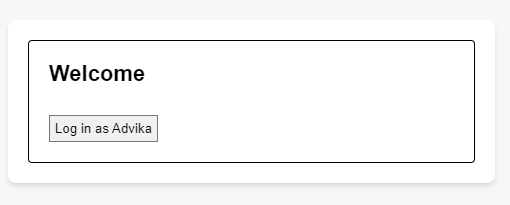
In this example, there is a currentUser state variable which holds an object.
We combine { currentUser, setCurrentUser } into a single object and pass it down through the context inside the value={}.
This lets any component below, such as LoginButton, read both currentUser and setCurrentUser, and then call setCurrentUser when needed.
App.js
import { createContext, useContext, useState } from 'react';
const CurrentUserContext = createContext(null);
export default function MyApp() {
const [currentUser, setCurrentUser] = useState(null);
return (
<CurrentUserContext.Provider
value={{
currentUser,
setCurrentUser
}}
>
<Form />
</CurrentUserContext.Provider>
);
}
function Form({ children }) {
return (
<Panel title="Welcome">
<LoginButton />
</Panel>
);
}
function LoginButton() {
const {
currentUser,
setCurrentUser
} = useContext(CurrentUserContext);
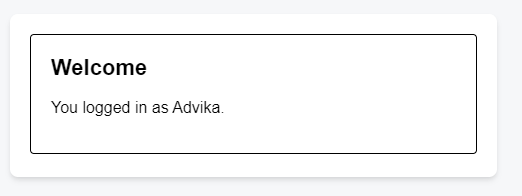
if (currentUser !== null) {
return <p>You logged in as {currentUser.name}.</p>;
}
return (
<Button onClick={() => {
setCurrentUser({ name: 'Advika' })
}}>Log in as Advika</Button>
);
}
function Panel({ title, children }) {
return (
<section className="panel">
<h1>{title}</h1>
{children}
</section>
)
}
function Button({ children, onClick }) {
return (
<button className="button" onClick={onClick}>
{children}
</button>
);
}
5 Example#2
Reference:
In this example we’ll explain how to use the new context API in as few words as possible. We’ll create a simple Locale context that provides the language preference between English and French to components in the app.
To create a new context, use React’s new createContext function:
5.1 Provider
The Provider component is used to wrap components in the tree that will need access to the value from the context.
Here let’s create a LocaleProvider component that wraps our LocaleContext’s provider and offers a way to change the context’s locale value:
import React, { useState } from 'react';

export const LocaleContext = React.createContext();

const LocaleProvider = (props) => {
  const [locale, setLocale] = useState('en');

  const changeLocale = () => {
    setLocale(prevLocale =>
    prevLocale === 'en' ? 'fr' : 'en');
  };

  const state = {
    locale,
    changeLocale
  };

  return (
    <LocaleContext.Provider value={state}>
      {props.children}
    </LocaleContext.Provider>
  );
};

export default LocaleProvider;
5.2 Using the provider
We can make use of our provider at the top level of our App component:
5.3 Consumer
Now all that’s left to do is access the values from the context using the Consumer component.
Our Greeting component looks like this:
And our ToggleLocale component looks like this:
import React, { useContext } from 'react';
import { LocaleContext } from './context/LocaleContext';

const ToggleLocale = () => {
  const localeVal = useContext(LocaleContext);

  return (
    <LocaleContext.Consumer>
      {(localeVal) => (
        <button
        onClick={localeVal.changeLocale}>Change language</button>
      )}
    </LocaleContext.Consumer>
  );
};

export default ToggleLocale;