PedroGeoGISdev wiki
  • Home
  • Linux OS
    • Linux: concepts
    • Linux: basic concepts
    • Linux: Bash
    • Linux: su and sudo
    • Linux: pipes
    • Linux: File System
    • Linux: Virtual Machines

    • Linux: distros
    • Linux Distros: Ubuntu
    • Linux Distros: Mint
    • Linux Distros: Debian
    • Linux Distros: openSuse
    • Linux Distros: Manjaro
    • Linux Distros: Red Hat Enterprise

    • Linux: laboratories
    • Linux Lab#LI01-1: Choose Linux
    • Linux Lab#LI01-2: Install at least three distributions
    • Linux Lab#LI01-3: Adjust user permissions
    • Linux Lab#LI02-1: Export env user with grep and pipe
    • Linux Lab#LI03-1: Manage users and groups
    • Linux Lab#LI03-2: Manage files
    • Linux Lab#LI03-3: Manage software
    • Linux Lab#LI03-4: Manage hardware
    • Linux Lab#LI04-1: Bash scripting, qtool
    • Linux Lab#LI04-2: Bash scripts as terminal tool
    • Linux Lab#LI04-3: Distribute the terminal app

    • Linux readings
    • Linux Resources
  • DevOps
    • What is DevOps
    • DevOps: Introduction
    • DevOps: Agile and Microservices
    • Infrastructure as code (IaC)
    • Immutable Infrastructure
    • Software Lifecycle

    • Documentation
    • How to document: Quarto and Obsidian

    • Network protocols
    • Network: Basics
    • Network: Client-server
    • Network Protocols
    • Network: DNS
    • Network: API Rest
    • Network: gRPC
    • Network: Websocket
    • Network: SMTP
    • Network: Ping
    • Network: UDP
    • Network: webhook
    • Network: SOAP
    • Network: graphQL

    • Version Control
    • Git
    • GitHub
    • Idea and GitHub 2023
    • Git and GitHub 2023 CLI

    • IDEs
    • IDE: Visual Code
    • IDE: IntellJIdea

    • DevOps tools
    • Amazon Web Services AWS
    • Docker
    • Jenkins pipelines
    • Kubernetes k8s
    • Digital Ocean
    • Nagios
    • Ansible

    • DevOps Laboratories
    • Lab 1: chat App
    • Lab 2: Spring Boot AWS AEB manually
    • Lab 3: Spring Boot and AWS S3 publisher
    • Lab 4: Spring Boot Docker/Jenkins
    • Lab 5: k8s on Digital Ocean
    • Lab 6: Spring Boot AWS codecommit

    • DevOps readings
    • DevOps Resources
  • MarkUp
    • MarkUp Languages
    • Introduction Markup
    • HTML Markup
    • Markdown Markup
    • Markdown and HTML working together, good idea?

    • Quarto Markdown
    • Quarto Markdown: basics
    • Quarto Markdown: creating
    • Quarto Markdown: publishing
    • Quarto Markdown: code & data
    • Quarto Markdown: api rest call
    • Quarto Markdown: OJS Cells
    • Quarto Markdown: cheat-sheet

    • Styling: CSS
    • Cascade Style Sheet
    • Cascade Style Sheet: Box Model and Containers
    • CSS: W3.css

    • MarkUp Languages Laboratories
    • Lab#MD01-1: Create and publish by Quarto

    • MarkUp Languages readings
    • MarkUp Languages Resources
  • Java SE
    • What is Java SE
    • Java Standard Edition: Basics
    • Java Standard Edition: Principles
    • Java MOOC Helsinki
    • Java MOOC Helsinki Syllabus

    • Java Create Project
    • Java SE: Maven
    • Java SE: Create Maven Project
    • Java SE: Project push GitHub
    • Java SE: JUnit and TDD

    • Java Concepts
    • Java SE: Class and Objects
    • Java SE: Scope
    • Java SE: static modifier
    • Java SE: Coupling and DDD
    • Java SE: Packages
    • Java SE: Abstract/Interface
    • Java SE: Java 8

    • Java Principles
    • Java SE: Encapsulation
    • Java SE: Abstraction
    • Java SE: Inherence
    • Java SE: Polymorphism

    • Java Design Patterns
    • Java Patterns: UML
    • Java Patterns: Types
    • Singleton
    • Factory
    • Abstract Factory
    • Builder
    • Facade
    • Bridge
    • Decorator
    • Composite
    • Observer
    • Strategy
    • State
    • Commander

    • Java SE Laboratories
    • Lab#SE00-1: Maven Person
    • Lab#SE00-2: Maven Clinic
    • Lab#SE00-3: Library Model
    • Lab#SE00-4: Abstract/Interface Human
    • Lab#SE01-1: Maven/Gradle Person and Account
    • Lab#SE01-2: Maven/Gradle Person and Account stored in JSON
    • Lab#SE02-1: Movie/Review, Model
    • Lab#SE02-2: Movie/Review, CRUD Operations
    • Lab#SE02-3: Movie/Review, factory
    • Lab#SE02-4: Movie/Review, interactivity and coupling
    • Lab#SE02-5: Movie/Review, simulate interactivity by console
    • Lab#SE03-1: Library/Book, Core-Model
    • Lab#SE03-2: Library/Book, Sprint Zero
    • Lab#SE03-3: Library/Book, Expand Model
    • Lab#SE04-1: healthyFood Restaurant, Core Model

    • Java SE readings
    • Java SE Resources
  • Python
    • Python Basics
    • Python: Basic Concepts
    • Python: Tips
  • JavaScript
    • JavaScript Basics
    • JavaScript: Basic Concepts
    • JavaScript: Tips
  • Spring
    • Spring Legacy
    • Spring Framework
    • Spring MVC
    • Springs Servlets

    • Spring Boot Basics
    • Spring Boot: fundamentals
    • Spring Boot: create a Project
    • Spring Boot: H2 DB and Thymeleaf
    • Spring Boot: cycle

    • Spring Boot Concepts
    • Spring Boot: Dependency Injection
    • Spring Boot: Annotations
    • Spring Boot: Controller
    • Spring Boot: View
    • Spring Boot: Thymeleaf
    • Spring Boot: Vaadin Flow
    • Spring Boot: Vaadin Hilla
    • Spring Boot: Model
    • Spring Boot: Rest
    • Spring Boot: Data & DB
    • Spring Boot: JPA & DI
    • Spring Boot: JPA Mappings
    • Spring Boot: JPA Relationships
    • Spring Boot: JPA Queries
    • Spring Boot: JPA Inherence
    • Spring Boot: Scaling

    • Spring Boot Laboratories
    • Lab#SB00-1: Library UML
    • Lab#SB00-2: CRUD User
    • Lab#SB00-3: LibraryManagement
    • Lab#SB00-4: API Rest
    • Lab#SB00-5: Rest & JPA-H2
    • Lab#SB00-6: Rest & MongoDB
    • Lab#SB00-7: Styling
    • Lab#SB01-1: DataBase
    • Lab#SB02-1: JPA Relationships
    • Lab#SB03-1: APIs & cloud
    • Lab#SB04-1: JPA Inherence
    • Lab#SB05-1: API Rest
    • Lab#SB06-1: employeeCourse
    • Lab#SB07-1: monitor Book
    • Lab#SB08-1: Restaurant UML
    • Lab#SB08-2: Vaadin
    • Lab#SB08-3: H2 and API Rest
    • Lab#SB08-4: JPA
    • Lab#SB08-5: Test API Rest
    • Lab#SB09-1: SpringIO Conference

    • Spring Boot readings
    • Spring Boot Resources
  • ReactJS
    • ReactJS: Principles
    • React JS: Introduction
    • React JS: render virtual DOM
    • React JS: Create a React project
    • React JS: Components
    • React JS: JSX
    • React JS: props and state

    • JavaScript: web scripting
    • JavaScript: basics
    • JavaScript: functions
    • JavaScript: objects
    • JavaScript: variables
    • JavaScript: flux control

    • ES6: ECMAScript 6
    • React JS ES6: arrow functions
    • React JS ES6: import modules
    • React JS ES6: array, data and key
    • React JS ES6: destructuring
    • React JS ES6: spread operator

    • ReacJS 18: Hooks
    • React JS: Rules of Hooks
    • ReactJS: useState
    • React JS: useReducer
    • React JS: useRef
    • React JS: useEffect
    • React JS: useContext
    • ReactJS: useMemo
    • ReactJS: custom hooks

    • ReactJS: Designing an App
    • React JS App: async
    • React JS App: events
    • React JS App: router
    • React JS App: conditional render
    • React JS App: styling

    • React JS: Laboratories
    • Lab#RE01-1: API Rest Axios
    • Lab#RE02-1: Router & Hooks
    • Lab#RE03-1: to-do app
    • Lab#RE03-2: HighCharts
    • Lab#RE03-3: API Rest Mono
    • Lab#RE03-4: API Rest Domains
    • Lab#RE03-5: data management
    • Lab#RE04-1: todo & server
    • Lab#RE04-2: Spring Boot & ReactJS
    • Lab#RE05-1: chat & websockets
    • Lab#RE05-2: chat: backend
    • Lab#RE05-3: chat & AWS
    • Lab#RE05-4: chat: test ws AWS
    • Lab#RE05-5: chat & front
    • Lab#RE05-6: chat & ws: front
    • Lab#RE06-1: healthyFood Restaurant
    • Lab#RE06-1-PR: create a pull request
    • Lab#RE07-1: traffic lights simulation

    • React JS readings
    • ReactJS Resources
  • Learning
    • Vocabulary
    • General Vocabulary
    • SCRUM Vocabulary
    • DevOps Vocabulary
    • Java SE Vocabulay
    • Spring Boot Vocabulary
    • DataBase Vocabulary
    • ReactJS Vocabulary
    • Web Vocabulary

    • Learning
    • Useful Questions
    • Learning: tips
    • Writing
    • Taking Notes
    • Comments
    • Document
    • Auto-Evaluate

    • Books & Articles
    • Books
    • Articles

    • What is SCRUM
    • SCRUM Agile Methodology
    • Agile Manifesto & Values
    • SCRUM Guide

    • Scrum Steps
    • Meetings, Impediments and Iterations
    • User stories, Tasks and Habits
    • Delivering Value & Communication
    • ScrumMaster, how it works
    • Mindset, the key to everything
    • Product Owner, how it works
    • Managing Time & Mind
    • Team & the Specialist
    • Albertus’ Dilemma
    • Before SCRUM
    • Team Dynamics
    • Emotions and Thoughts
    • Decision Making and Intuition
    • Beyond SCRUM
    • Balances, atmosphere and tools

    • Resources
    • SCRUM Resources
  • QGIS
    • QGIS basics
    • QGIS: basic concepts

    • QGIS laboratories
    • QGIS Laboratory 1: Introduction to Open Source GIS
  • ArcGIS Pro
    • ArcGIS Pro basics
    • ArcGIS Pro: basic concepts

    • ArcGIS Pro laboratories
    • ArcGIS Pro Laboratory 1: Getting Started
  • Bookmarks
    • Online Resources
    • Online Resources
  • About
    • About me and this site
    • About me
    • About this site
    • About images credit
  • Email
  • GitHub
  • LinkedIn
  1. Linux: distros
  2. Linux Distros: Debian
  • Linux OS

  • Linux: concepts
    • Linux: basic concepts
    • Linux: Bash
    • Linux: su and sudo
    • Linux: pipes
    • Linux: File System
    • Linux: Virtual Machines

  • Linux: distros
    • Linux Distros: Ubuntu
    • Linux Distros: Mint
    • Linux Distros: Debian
    • Linux Distros: openSuse
    • Linux Distros: Manjaro
    • Linux Distros: Red Hat Enterprise

  • Linux: laboratories
    • Linux Lab#LI01-1: Choose Linux
    • Linux Lab#LI01-2: Install at least three distributions
    • Linux Lab#LI01-3: Adjust user permissions
    • Linux Lab#LI02-1: Export env user with grep and pipe
    • Linux Lab#LI03-1: Manage users and groups
    • Linux Lab#LI03-2: Manage files
    • Linux Lab#LI03-3: Manage software
    • Linux Lab#LI03-4: Manage hardware
    • Linux Lab#LI04-1: Bash scripting, qtool
    • Linux Lab#LI04-2: Bash scripts as terminal tool
    • Linux Lab#LI04-3: Distribute the terminal app

  • Linux readings
    • Linux Resources

On this page

  • 1 Introduction
    • 1.1 The Debian Ecosystem
    • 1.2 Reasons to use Debian
  • 2 The Debian Installation Process: Step-by-Step Guide
  • 3 Advanced Topics
    • 3.1 Package Management Tools
    • 3.2 Command Line Interface
  • Edit this page
  • Report an issue
  1. Linux: distros
  2. Linux Distros: Debian

Linux Distros: Debian

Debian

linux
debian
distro
Debian
Author

albertprofe

Published

Tuesday, June 1, 2021

Modified

Sunday, August 10, 2025

1 Introduction

Debian, often referred to as the “universal operating system,” stands as a stalwart in the open-source community.

As one of the oldest and most respected Linux distributions, Debian serves as a foundation for numerous other distributions and remains a favorite among users seeking stability, security, and a commitment to free and open-source software.

NoteOur Philosophy: Why we do it and how we do it

Our Mission: Creating a Free Operating System

The Debian Project is an association of individuals, sharing a common goal: We want to create a free operating system, freely available for everyone.

Now, when we use the word “free”, we’re not talking about money, instead, we are referring to software freedom.

1.1 The Debian Ecosystem

The Debian ecosystem is vast and diverse, catering to a wide range of user preferences. In this section, we delve into the different Debian releases, understanding the characteristics of each branch, including Stable, Testing, and Unstable.

  • People: Who we are and what we do

1.2 Reasons to use Debian

There are a lot of reasons to choose Debian as your operating system – as a user, as a developer, and even in enterprise environments.

Most users appreciate the stability, and the smooth upgrade processes of both packages and the entire distribution.

Debian is also widely used by software and hardware developers because it runs on numerous architectures and devices, offers a public bug tracker and other tools for developers. If you plan to use Debian in a professional environment, there are additional benefits like LTS versions and cloud images.

For me it’s the perfect level of ease of use and stability. I’ve used various different distributions over the years but Debian is the only one that just works.

NorhamsFinest on Reddit*

Debian is Free Software.

Debian is made of free and open source software and will always be 100% free. Free for anyone to use, modify, and distribute. This is our main promise to our users. It’s also free of cost.

Debian is stable and secure.

Debian is a Linux-based operating system for a wide range of devices including laptops, desktops and servers. We provide a reasonable default configuration for every package as well as regular security updates during the packages’ lifetimes.

Debian has extensive Hardware Support.

Most hardware is supported by the Linux kernel which means that Debian will support it as well. Proprietary drivers for hardware are available if necessary.

Debian offers a flexible Installer.

Our Live CD is for everyone who wants to give Debian a try before installing it. It also includes the Calamares installer which makes it easy to install Debian from the live system. More experienced users can use the Debian installer with more options for fine-tuning, including the possibility to use an automated network installation tool.

Debian provides smooth Upgrades.

It’s easy to keep our operating system up-to-date, whether you want to upgrade to a completely new release or just update a single package.

Debian is the Base for many other Distributions.

Many popular Linux distributions, like Ubuntu, Knoppix, PureOS or Tails, are based on Debian. We provide all the tools so that everyone can extend the software packages from the Debian archive with their own packages if needed.

The Debian Project is a Community.

Everyone can be a part of our community; you don’t have to be a developer or sysadmin. Debian has a democratic governance structure. Since all members of the Debian project have equal rights, Debian cannot be controlled by a single company. Our developers are from more than 60 different countries, and Debian itself is translated into more than 80 languages.

2 The Debian Installation Process: Step-by-Step Guide

Installing Debian might seem intimidating to newcomers, but fear not – our step-by-step guide makes the process a breeze.

From downloading the installation image to configuring the system, we break down each step to ensure a smooth installation experience. We discuss the different installation options, such as the graphical and text-based installers, and provide tips on partitioning and selecting software packages.

  • Guia d’instal·lació de Debian GNU/Linux

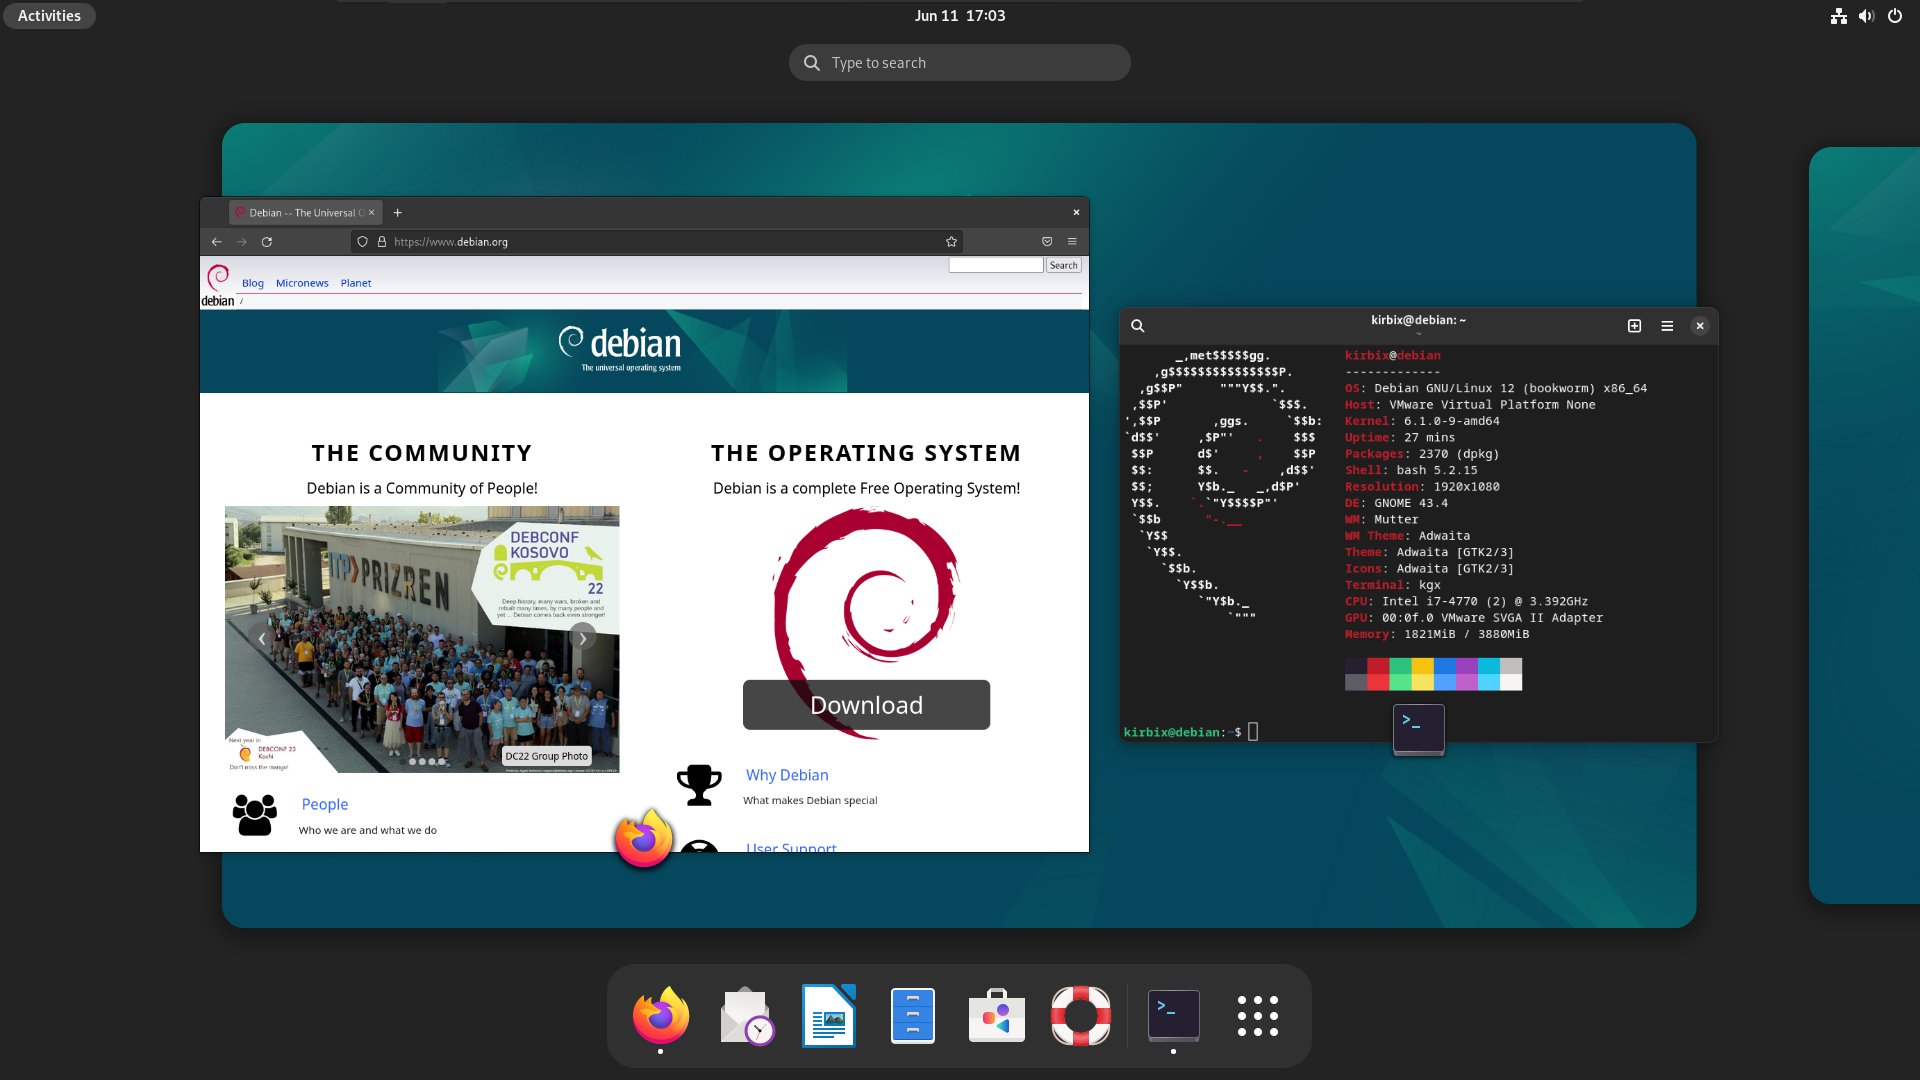
Step 1: Download Debian Installation Image

Visit the official Debian website and navigate to the “Download” section. Choose the appropriate Debian version (Stable, Testing, or Unstable) and download the installation image for your architecture (e.g., amd64, i386).

Step 2: Create a Bootable USB Drive

Use a tool like Rufus on Windows or dd command on Linux to create a bootable USB drive with the Debian installation image.

Example using dd on Linux:

sudo dd bs=4M if=/path/to/debian.iso of=/dev/sdX status=progress && sync

Replace /path/to/debian.iso with the actual path to your Debian ISO file and /dev/sdX with your USB drive identifier.

Step 3: Boot from USB

  • Insert the bootable USB drive into the target system and restart it.
  • Enter the BIOS or UEFI settings to set the USB drive as the primary boot device.

Step 4: Start Debian Installer

  • Boot from the USB drive, and you’ll be greeted by the Debian Installer.
  • Choose the installation option, such as “Graphical Install” for a user-friendly interface or “Install” for a text-based installation.

Step 5: Language and Location

  • Select your preferred language, country, and keyboard layout when prompted by the installer.

Step 6: Network Configuration

  • Configure your network settings. Choose DHCP for automatic configuration or manually enter network details if needed.

Step 7: Disk Partitioning

  • Choose the disk on which to install Debian. You can either use the entire disk or manually partition it.
  • Follow the prompts to set up partitions and file systems.

Step 8: Install the Base System

  • The installer will download the base system and prompt you to set up a root password and create a user account.
  • Follow the instructions to complete this step.

Step 9: Package Installation

  • Select the software packages you want to install. You can choose a predefined set or customize your selection.

Step 10: GRUB Boot Loader Installation

  • Install the GRUB boot loader to the master boot record (MBR) or the EFI partition, depending on your system’s architecture.

Step 11: Complete Installation

  • Once the installation is complete, remove the installation media (USB drive) and press “Continue” to reboot your system into the newly installed Debian system.

Congratulations! You have successfully installed Debian on your system.

3 Advanced Topics

3.1 Package Management Tools

  • PackageManagementTools

Many tools available on a Debian system can be used for PackageManagement. Commonly used ones include:

command-line:

  • apt - The main command-line package management tool
  • aptitude - command-line and text-based interface (ncurses) for Apt

graphical:

  • Synaptic - Graphical package manager
  • gdebi - Graphical installer for standalone DebianPackages
  • gnome-software - Software Center for GNOME

3.2 Command Line Interface

  • CommandLineInterface
Back to top
Linux Distros: Mint
Linux Distros: openSuse

This website is built with Quarto.

Difficulties are just things to overcome, after all. Ernest Shackleton

  • Edit this page
  • Report an issue